
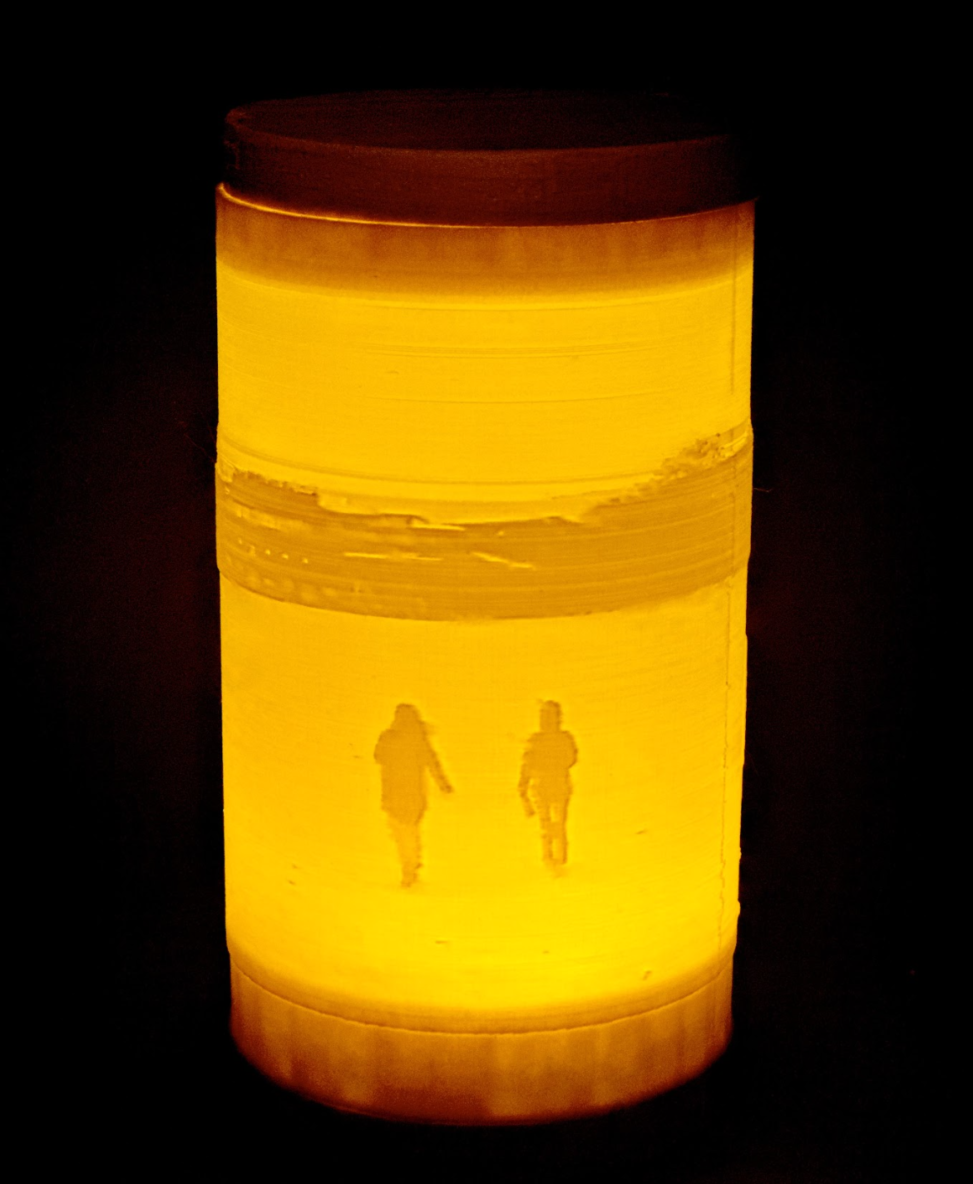
This project was intended to expose us to various machines and technologies in the IDEAS lab that would help us when completing our final project. My biggest takeaway from this project is the knowledge gained on how to use the 3D printer, as it was an essential element in my final lighting piece.
As the goal of this project was largely to learn the machinery and technology of the lab, there was little wiggle room for customization. The project prompt was simple: design a single LED lithophane lamp with a CNC routed base and top.
For this project, we first completed all of the SolidWorks drawings to send to the CNC mill for routing (though for consistency and time efficiency, a previously constructed file was already pre uploaded onto the mill).

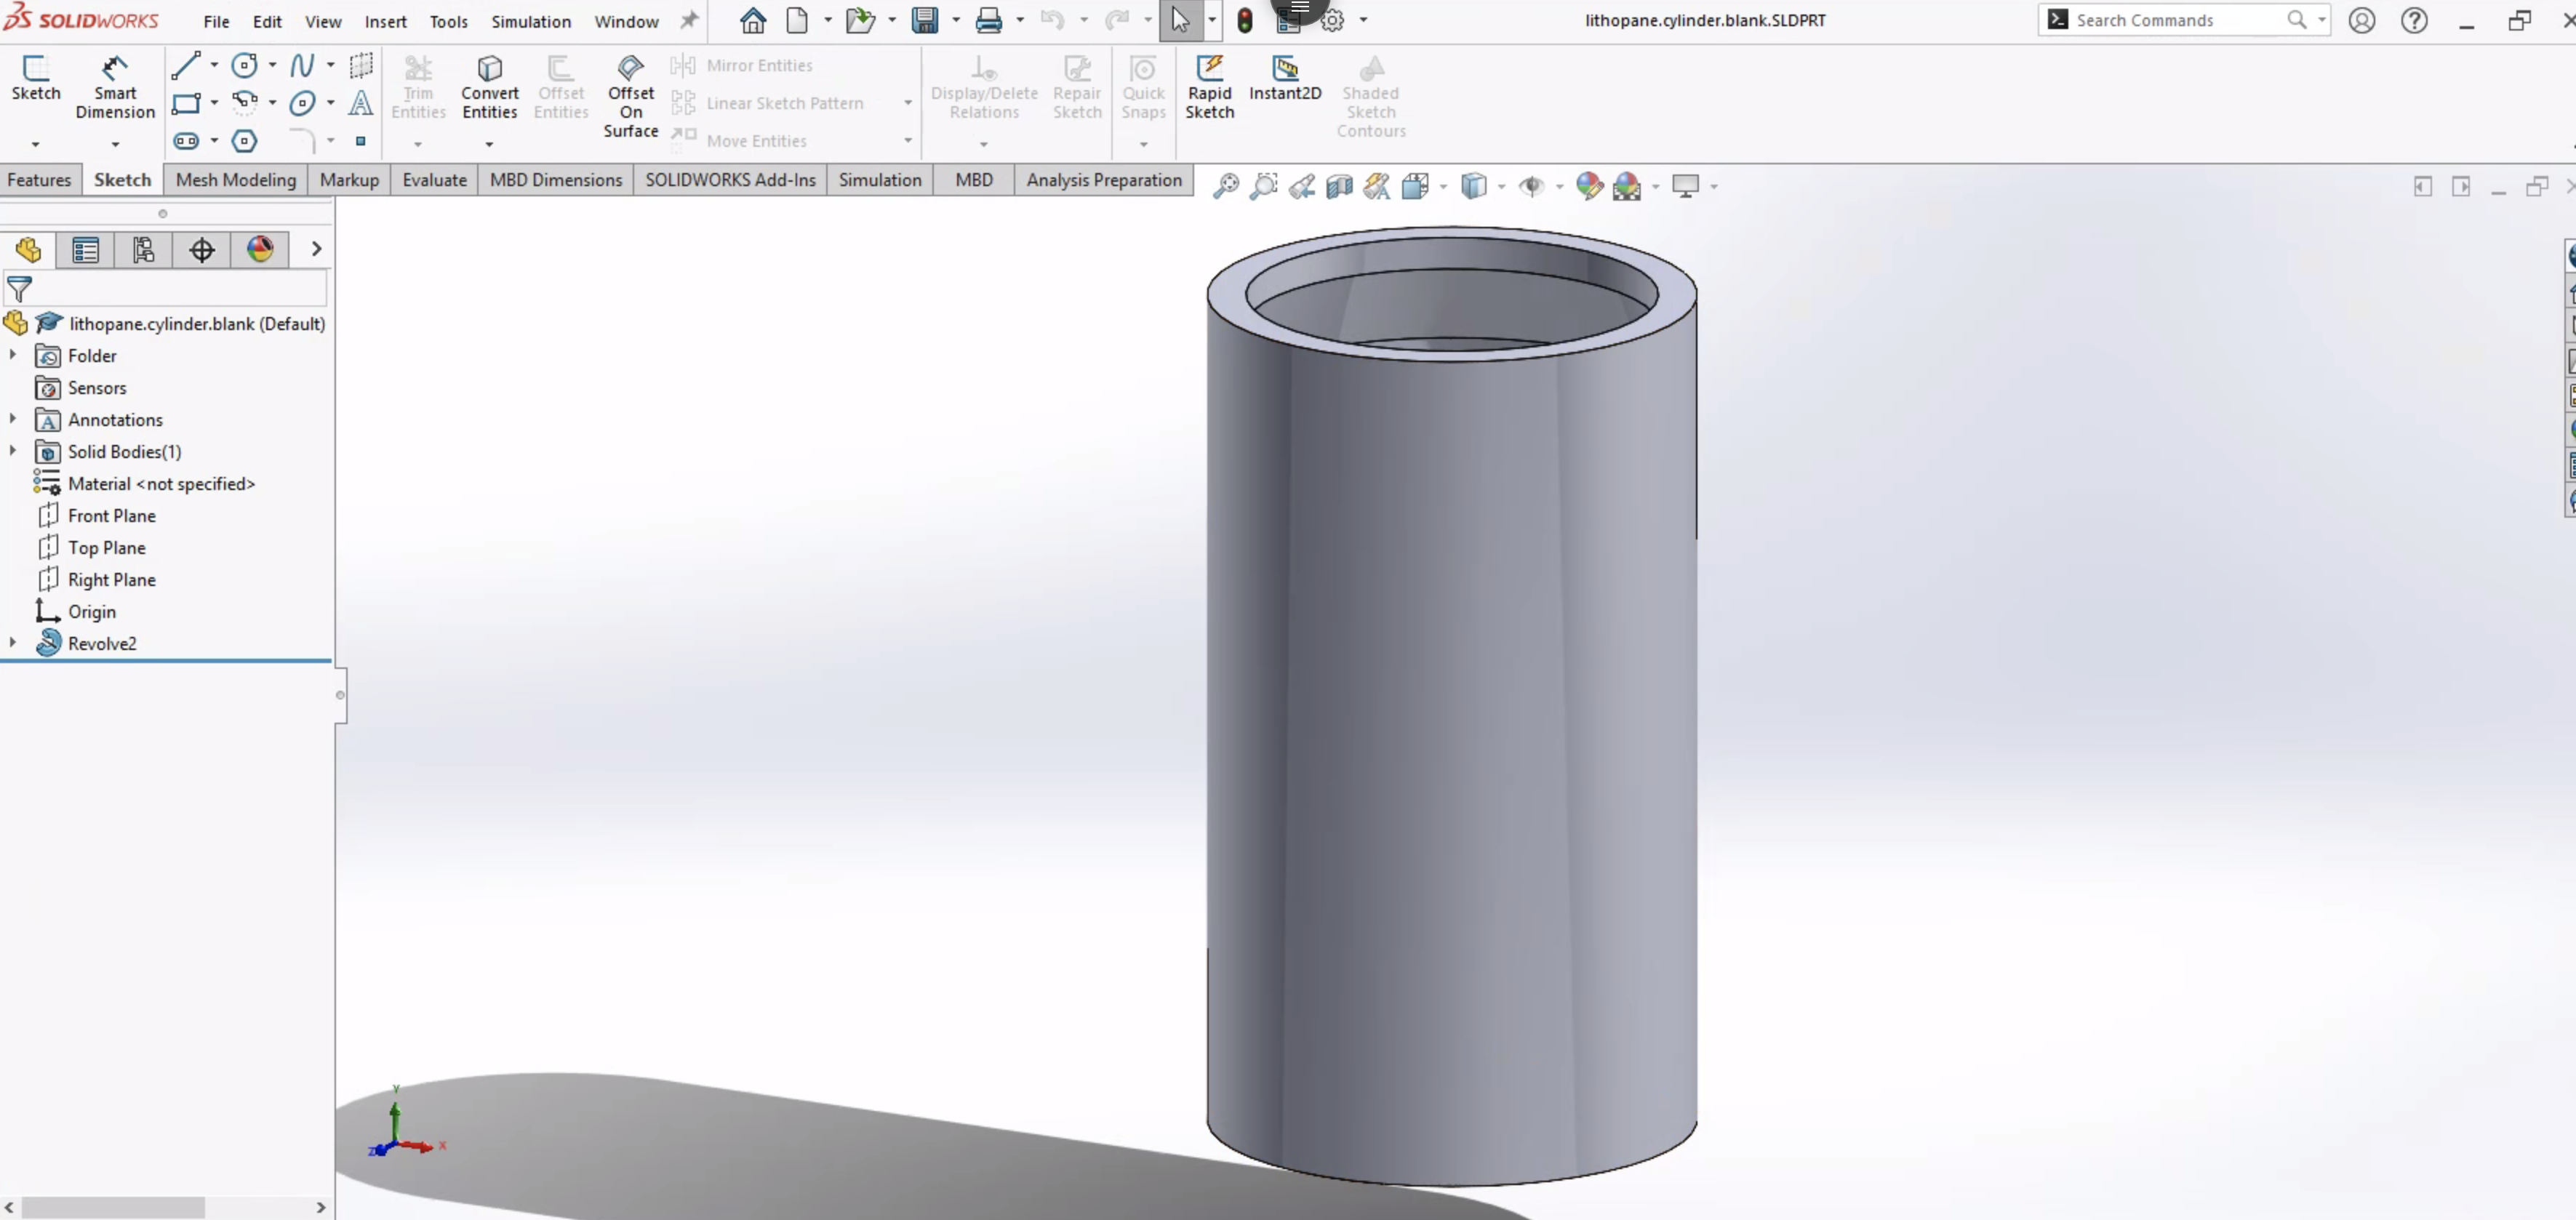
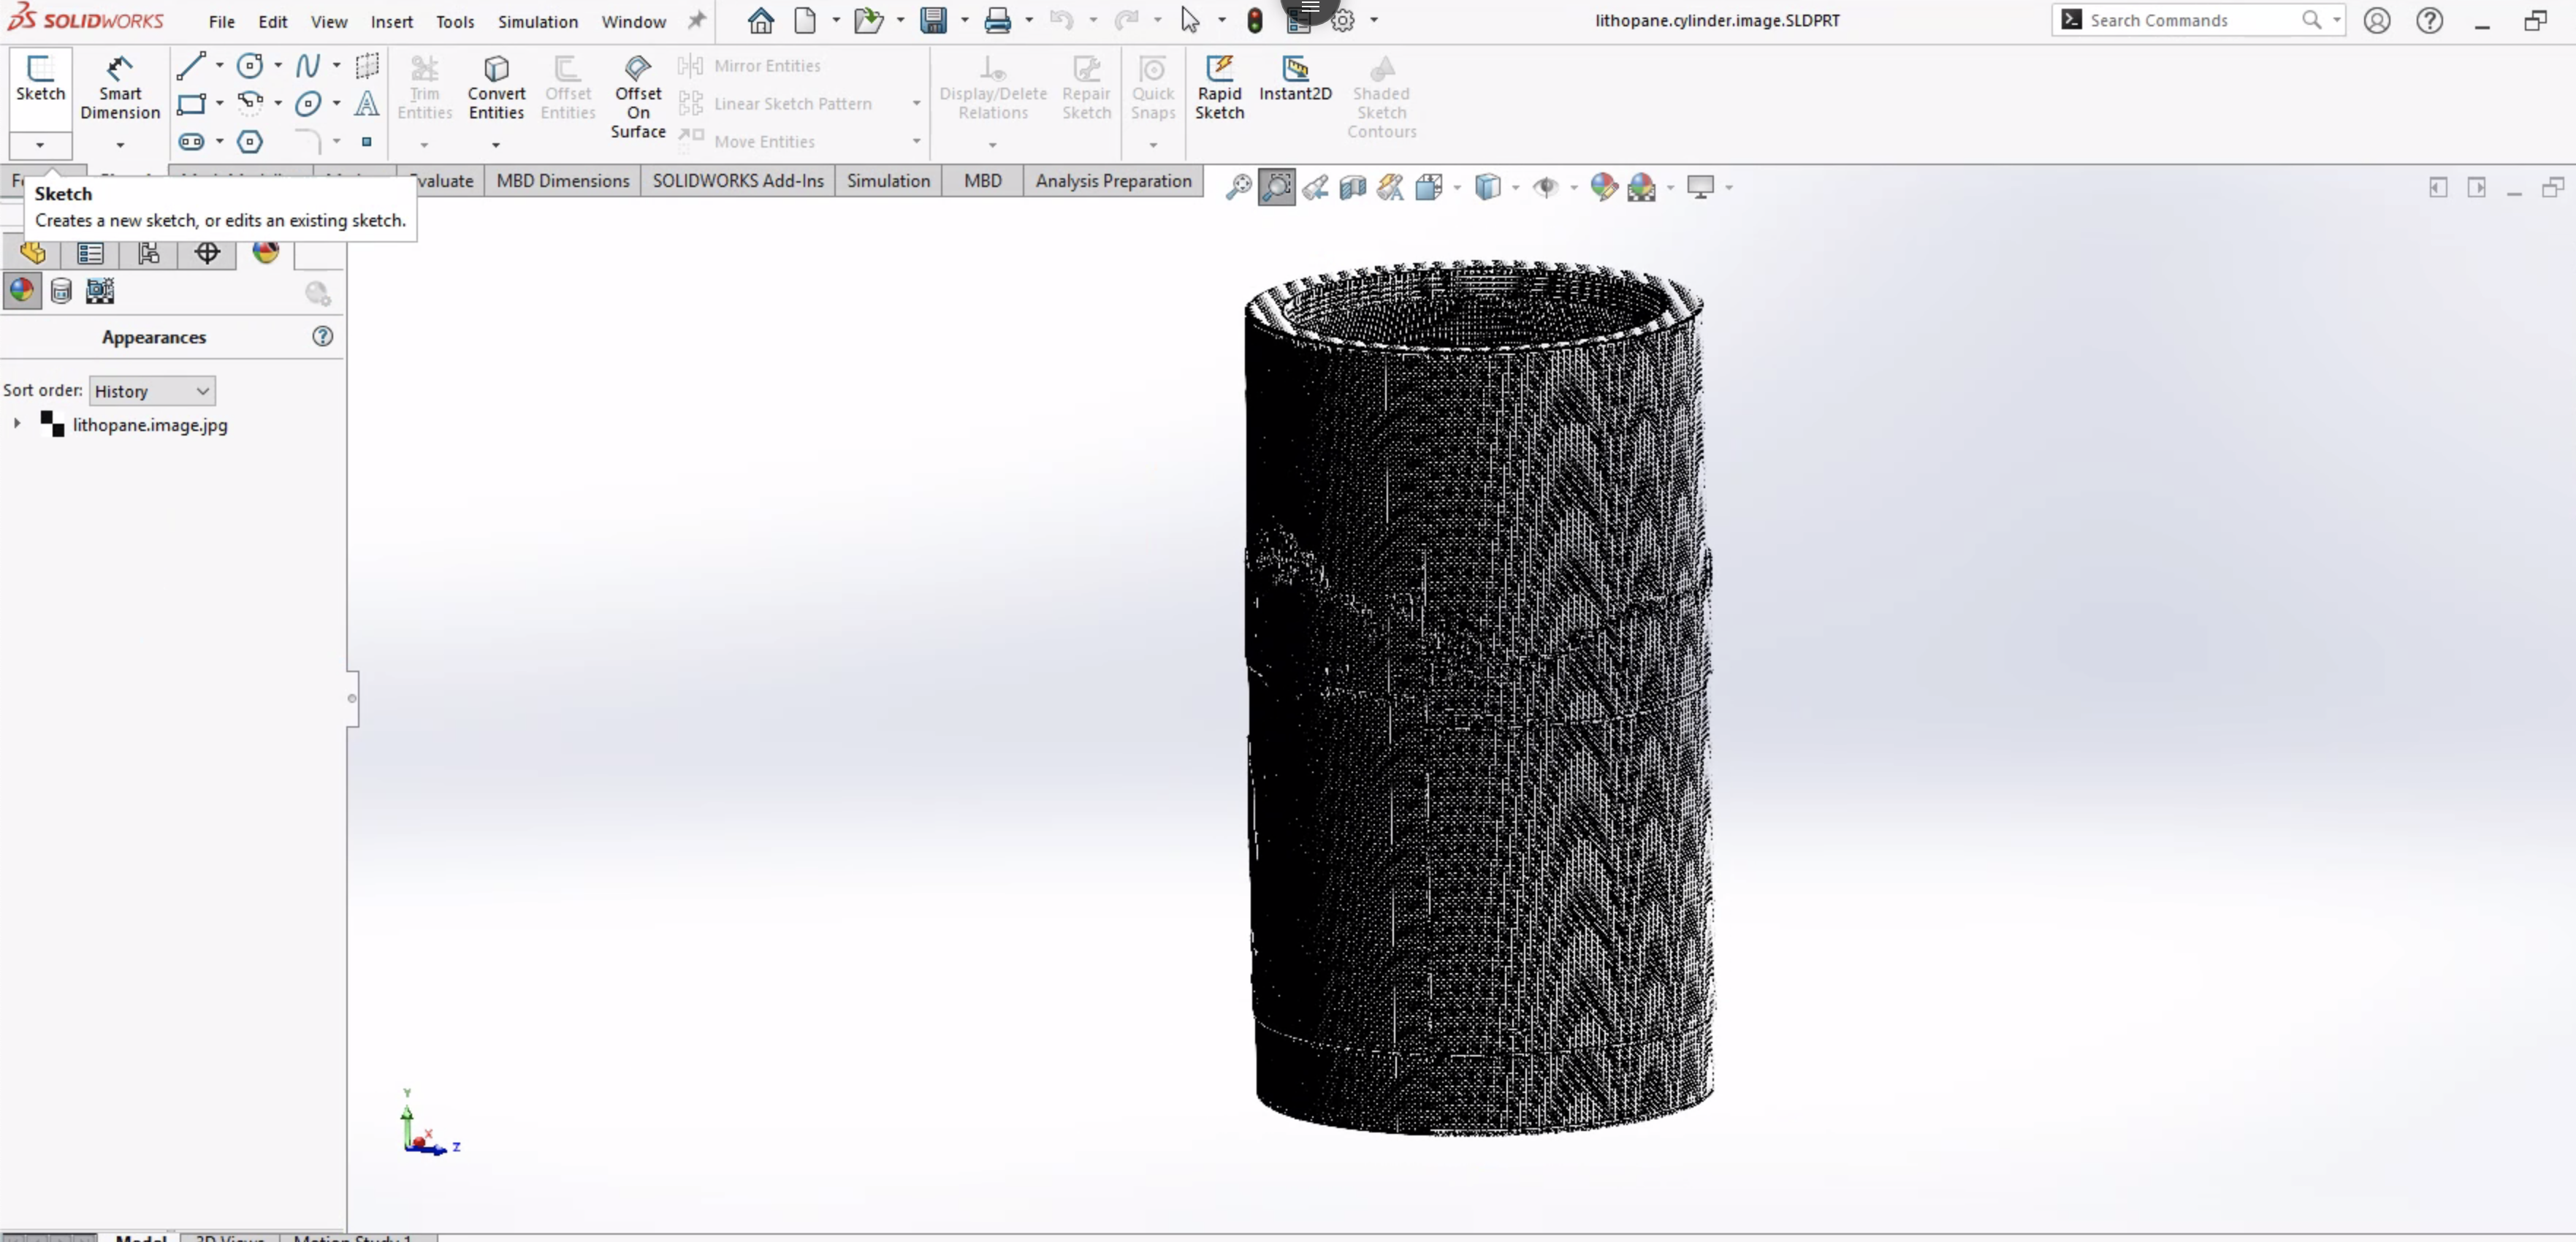
Next, we designed our own lithophane cylinder, which we 3D mapped an image onto for the laser printer. When dark, the cylinder did not show much, But by 3D printing thicker or thinner lines, once light shone through the piece our mapped image magically appeared.
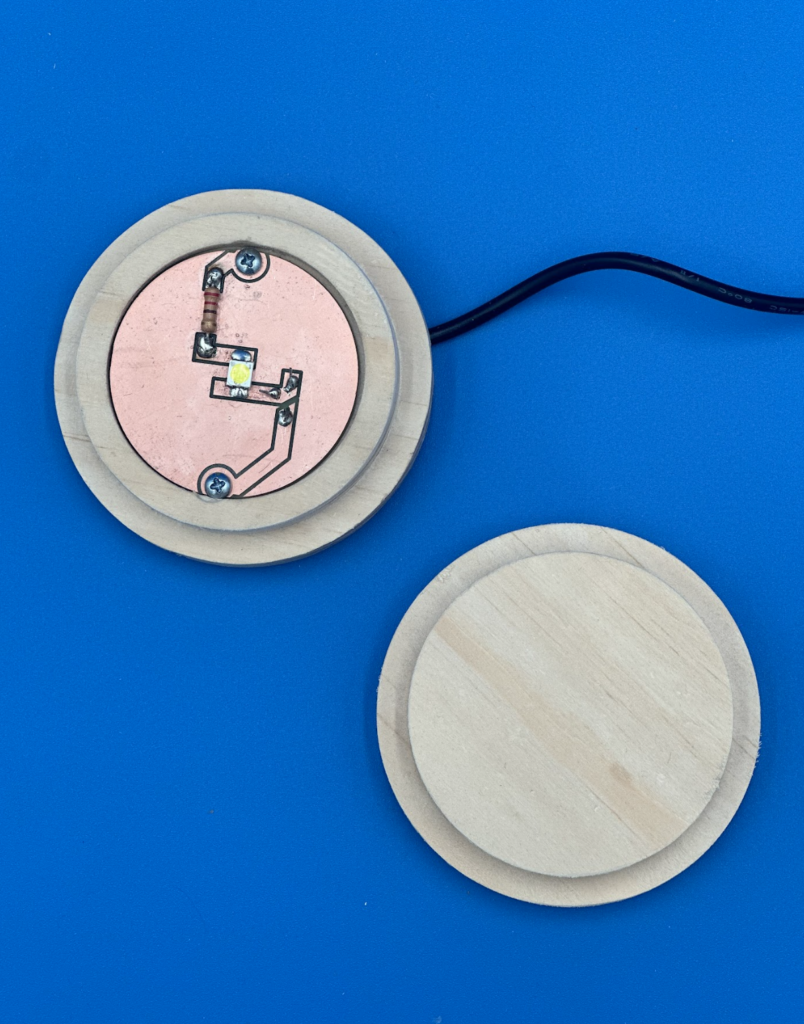
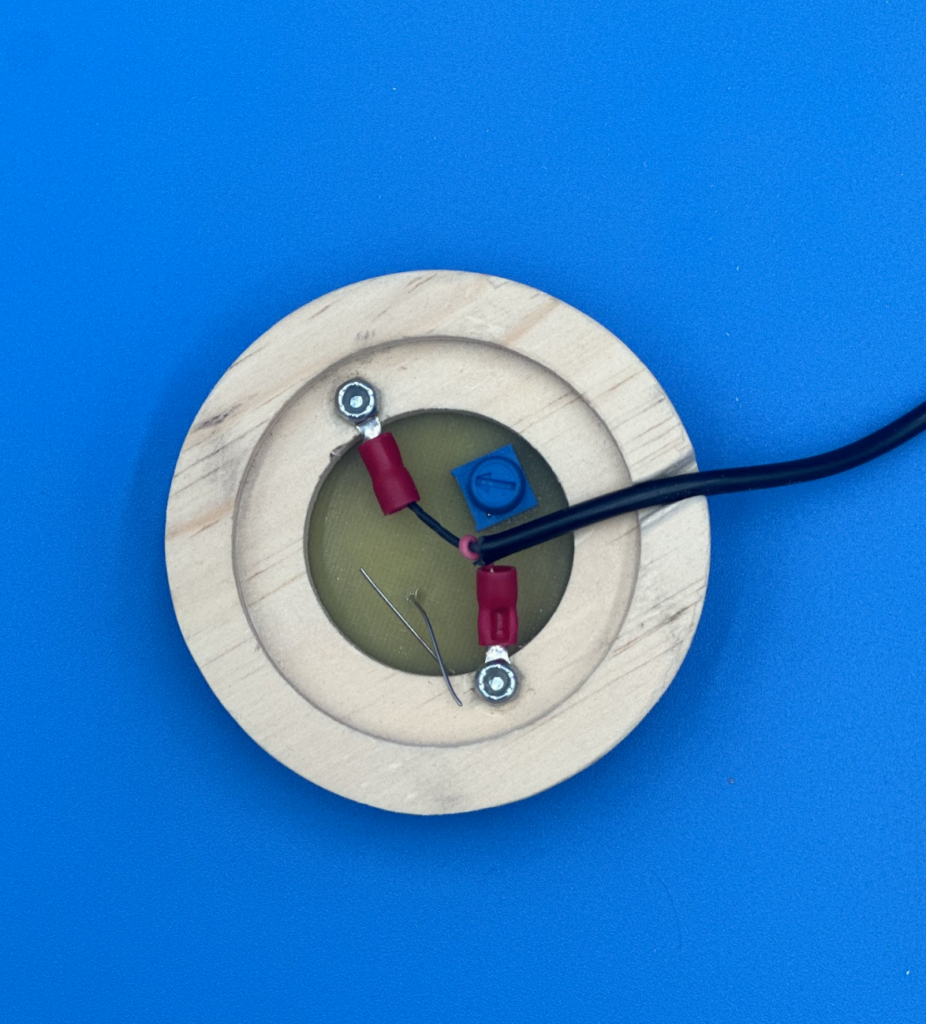
The final element of this project was the actual lighting element, which involved a resistor, capacitor, an LED, and a copper cladded plate. These materials needed to be organized in a way that allowed electricity to run through the LED, hence providing the necessary light for the lamp. To connect all these pieces we used a method called soldering, which involves melting thin metal wires. These connections are conductive, because they’re made of metal, and allow energy to pass through from part to part.
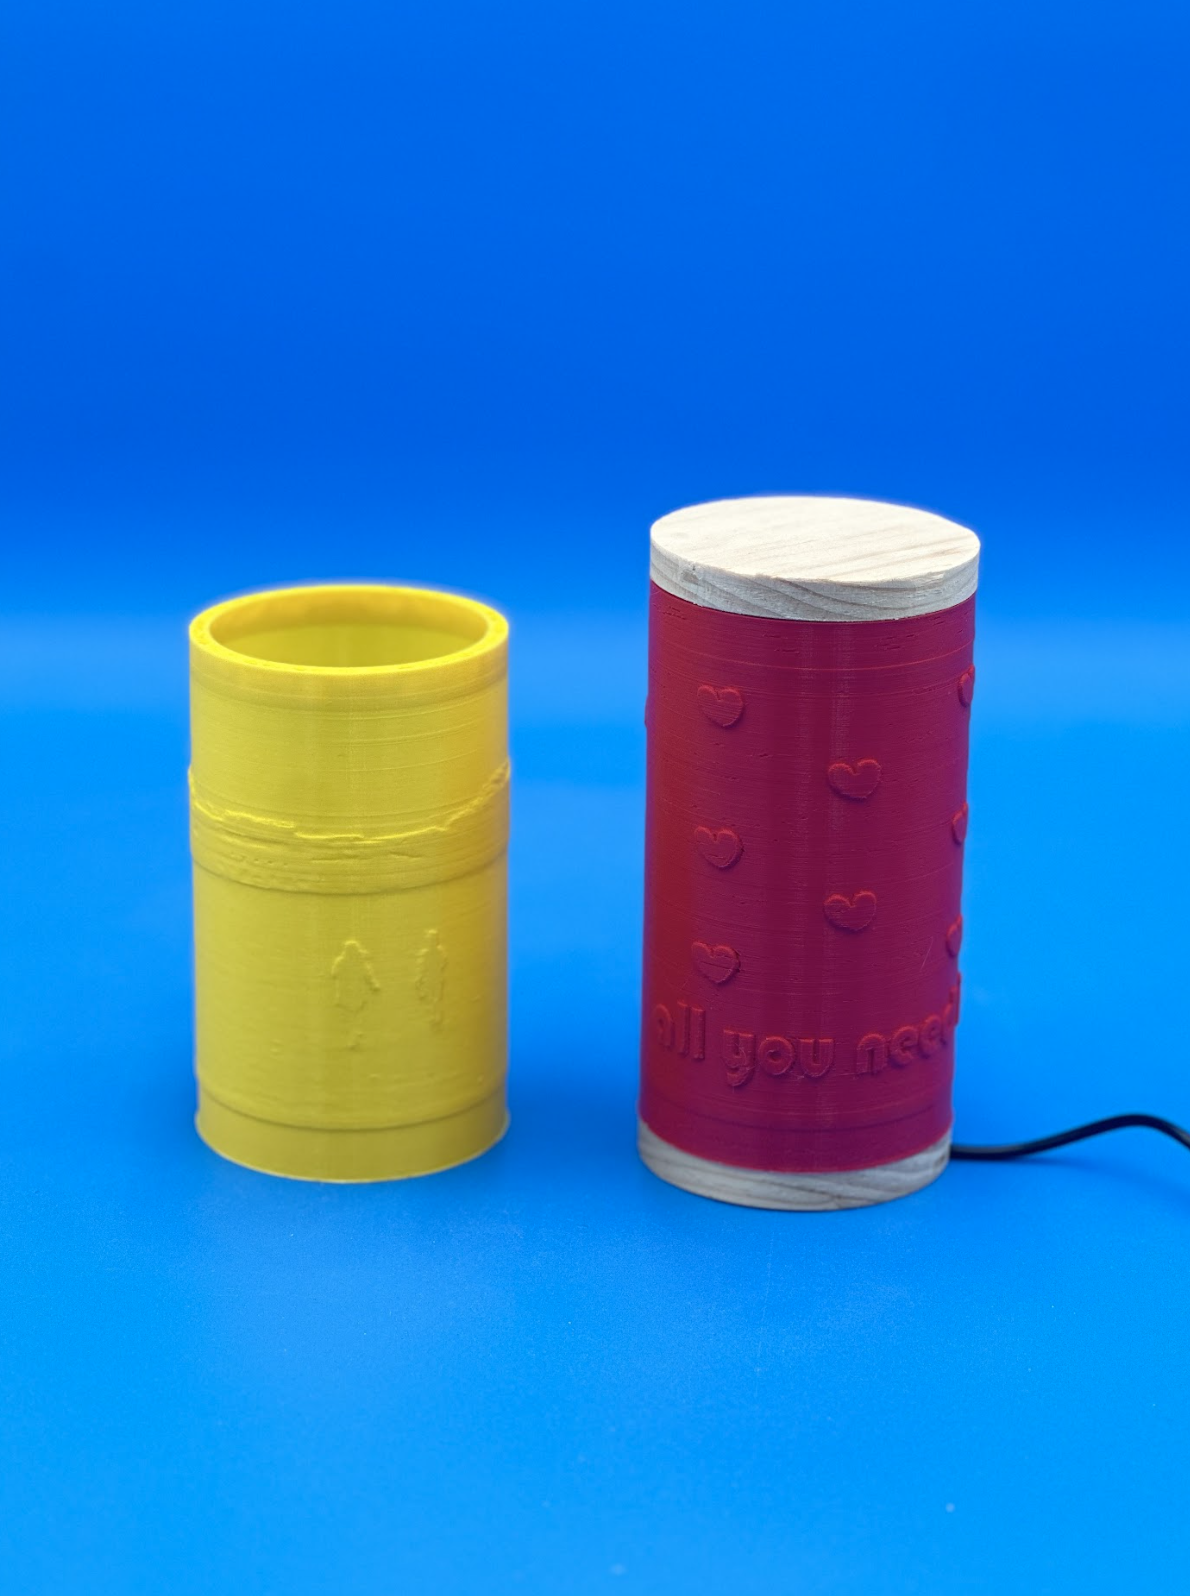
Once all the elements were accounted for, we turned in our projects for a week long test to ensure the wiring was correct and the LED would not cause a fire. Since the wood and 3D printed material (PLA) are not connected, I made two interchangeable lithophane cylinders, one of an image from my iPhone, and one from a drawing I made on Adobe Illustrator.
